 |
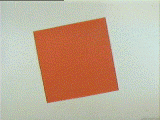
1. Start with a perfectly square sheet of paper
Paper made specifically for origami can be found at most craft stores. It is usually colored only on one side. I used a sheet that was colored on both sides |
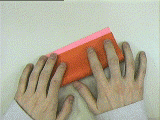 |
2. Begin by folding one edge to meet to other,
with the colored side outward. |
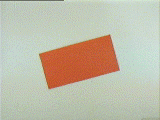 |
…to get this. |
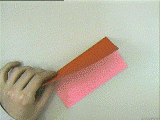 |
3. Open up the paper and lay it flat.
Now repeat step 2 in the other direction, and open up it up again. |
 |
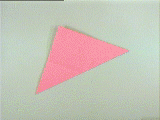
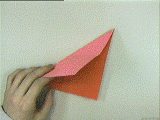
4. Fold it diagonally with the white side out (pink here).
Line it up corner to corner… |
 |
…to get this. |
 |
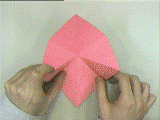
5. Open up the paper, repeat
step 4 in the other direction, and open up the paper again. |
 |
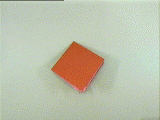
6. Lay the paper with the white side up. (pink here)
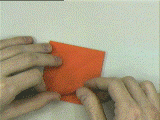
Bring in the side corners, while bringing the top corner down… |
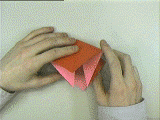 |
…like this… |
 |
…to get this. |
 |
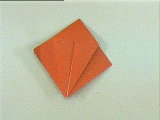
7. With the open side pointing towards the left
in this picture, fold one corner of the square so that the edge is lined up with the center line… |
 |
…to get this. |
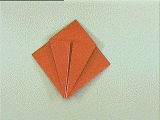 |
8. Repeat step 7 with the other flap. |
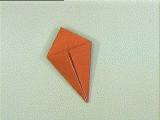 |
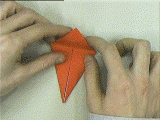
9. Flip the paper over and repeat step 7 for
the other two flaps. |
 |
10. Fold the top flap down and crease hard… |
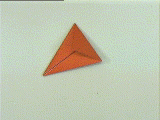 |
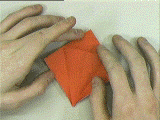
…to get this. Now fold it the same way in the
opposite direction. |
 |
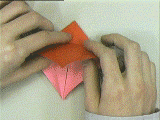
11. Open up one side, and lay it flat. |
 |
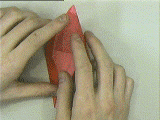
12. Lift the top flap on the open end (the lower
end in this picture) and fold it upwards, bringing in the sides… |
 |
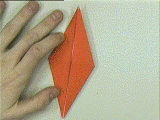
…like this… |
 |
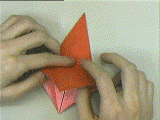
… and lay flat to get this. |
 |
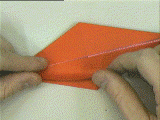
13. Flip the paper over and repeat steps 11 & 12
for the other side… |
 |
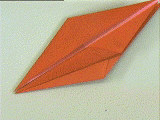
14. With the open end towards the left in the
picture, fold in one flap in so that the edge lines up with the center line… |
 |
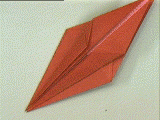
…to get this. |
 |
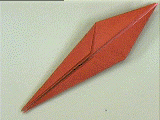
15. Repeat step 14 for the other flap. |
 |
16. Flip the paper over and repeat steps 14 & 15
for the flaps on the other side. |
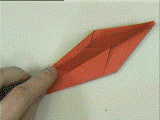 |
17. Fold over one side, like this… |
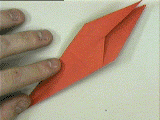 |
… and lay flat to get this. |
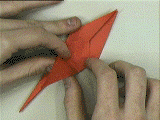 |
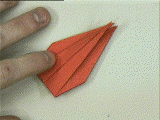
18. Fold up the top flap on the open end, so that
the tip of the lower flap reaches the tip of upper flap… |
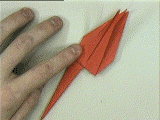 |
…like this. |
 |
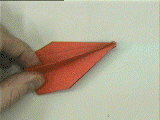
19. Fold two of the flaps over and repeat step 18
for the other lower flap. |
 |
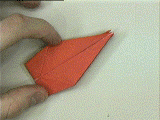
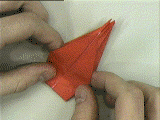
20. Fold one flap over and lay flat… |
 |
…to get this. |
 |
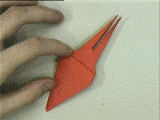
21. Fold the top flap down… |
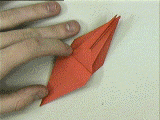 |
…to get this. |
 |
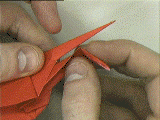
22. Flip the paper over and repeat step 21 for
the other side |
 |
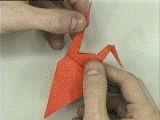
23. Invert fold one of the upper tips like this… |
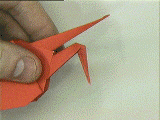 |
…to form the head. |
 |
24. Pull back the other tip like this… |
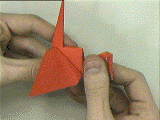 |
…to form the tail. |
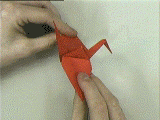 |
25. Gently pull the wings apart to form the body. |
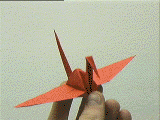 |
And now it is complete! |
Did you know that if you subscribe to our website, you will receive email notifications whenever content changes or new content is added.
1. Enter your e-mail address below and click the Sign Me Up button.
2. You will receive an email asking you to confirm your intention of subscribing to our site.
3. Click the link in the email to confirm. That’s all there is to it! Note: if you wish to unsubscribe from our site, click the unsubscribe link at the bottom of the email you received.
Then indicate you no longer wish to receive our emails.
Thank You
Prisonbreakfreak.com Team